Sewing Success: How to Take Accurate Body Measurements for a Perfect Fit
Introduction:
Welcome to our sewing blog, where we’ll walk you through the essential steps to take accurate body measurements for your sewing projects. Whether you’re a seasoned seamstress or a beginner, getting these measurements right is crucial for creating garments that fit you like a glove. So, grab your measuring tape and let’s dive in!
Step 1: Preparation
Before you start measuring, make sure you’re wearing fitted clothing, like leggings and a snug top. This ensures that your measurements won’t be skewed by bulky outfits. Stand up straight with relaxed shoulders and arms at your sides. Let’s get started!
Step 2: Gather Your Tools
You’ll need a flexible measuring tape. These are specifically designed for sewing and provide the most accurate results. If possible, have a friend assist you for some measurements.
Step 3: Measure Key Points
Please click here for a downloadable Measuring table and record all your measurements for further projects.
Bust:
Measure around the fullest part of your bust, typically over the nipples. Keep the tape parallel to the ground and comfortable but not too tight.
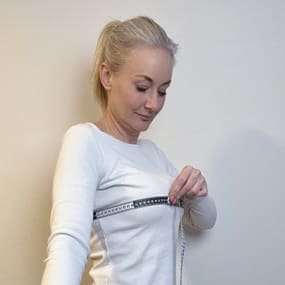
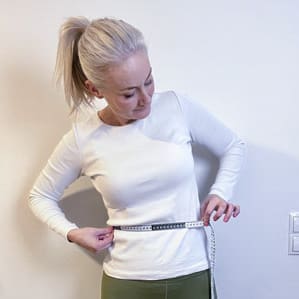
Waist:
Find your natural waist, the narrowest part of your torso, typically above your belly button. Measure without holding your breath.
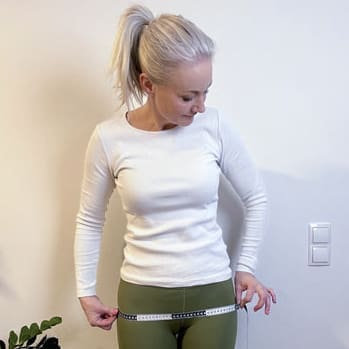
Hips:
Measure around the fullest part of your hips, 7-9 inches below your waist, depending on your body shape.
Step 4: Double Check
After each measurement, double-check to ensure accuracy. The tape should be snug but not tight.
Step 5: Record Measurements
Write down each measurement, making sure to label them clearly for reference later.
Taking accurate body measurements is a fundamental step in sewing. It’s the key to garments that fit comfortably and flatter your unique shape. So, measure carefully, and you’ll be well on your way to sewing success. Happy stitching!
How to Shorten and lengthen a pattern
Most patterns will have a shorten / lengthen line within the pattern. Usually running across your pattern horizontally. These lines can be cut or folded to adapt the length of the pattern piece.
Lengthen: cut open the pattern piece along the line and insert a piece of paper to fill the gap by how much you would like to lengthen this by.
Shortening: Cut again through the line indicated on the pattern piece and overlap the pattern piece by the amount you would like to shorten the pattern.
If you have amended the seams to all you will need to -“True up the seams” which means to ensure that the edges of pattern pieces align perfectly, creating a smooth and even seam. This step helps prevent puckering, twisting, or uneven seams in your sewing project.
Also don’t forget to adjust both back and front pieces by the same amount!
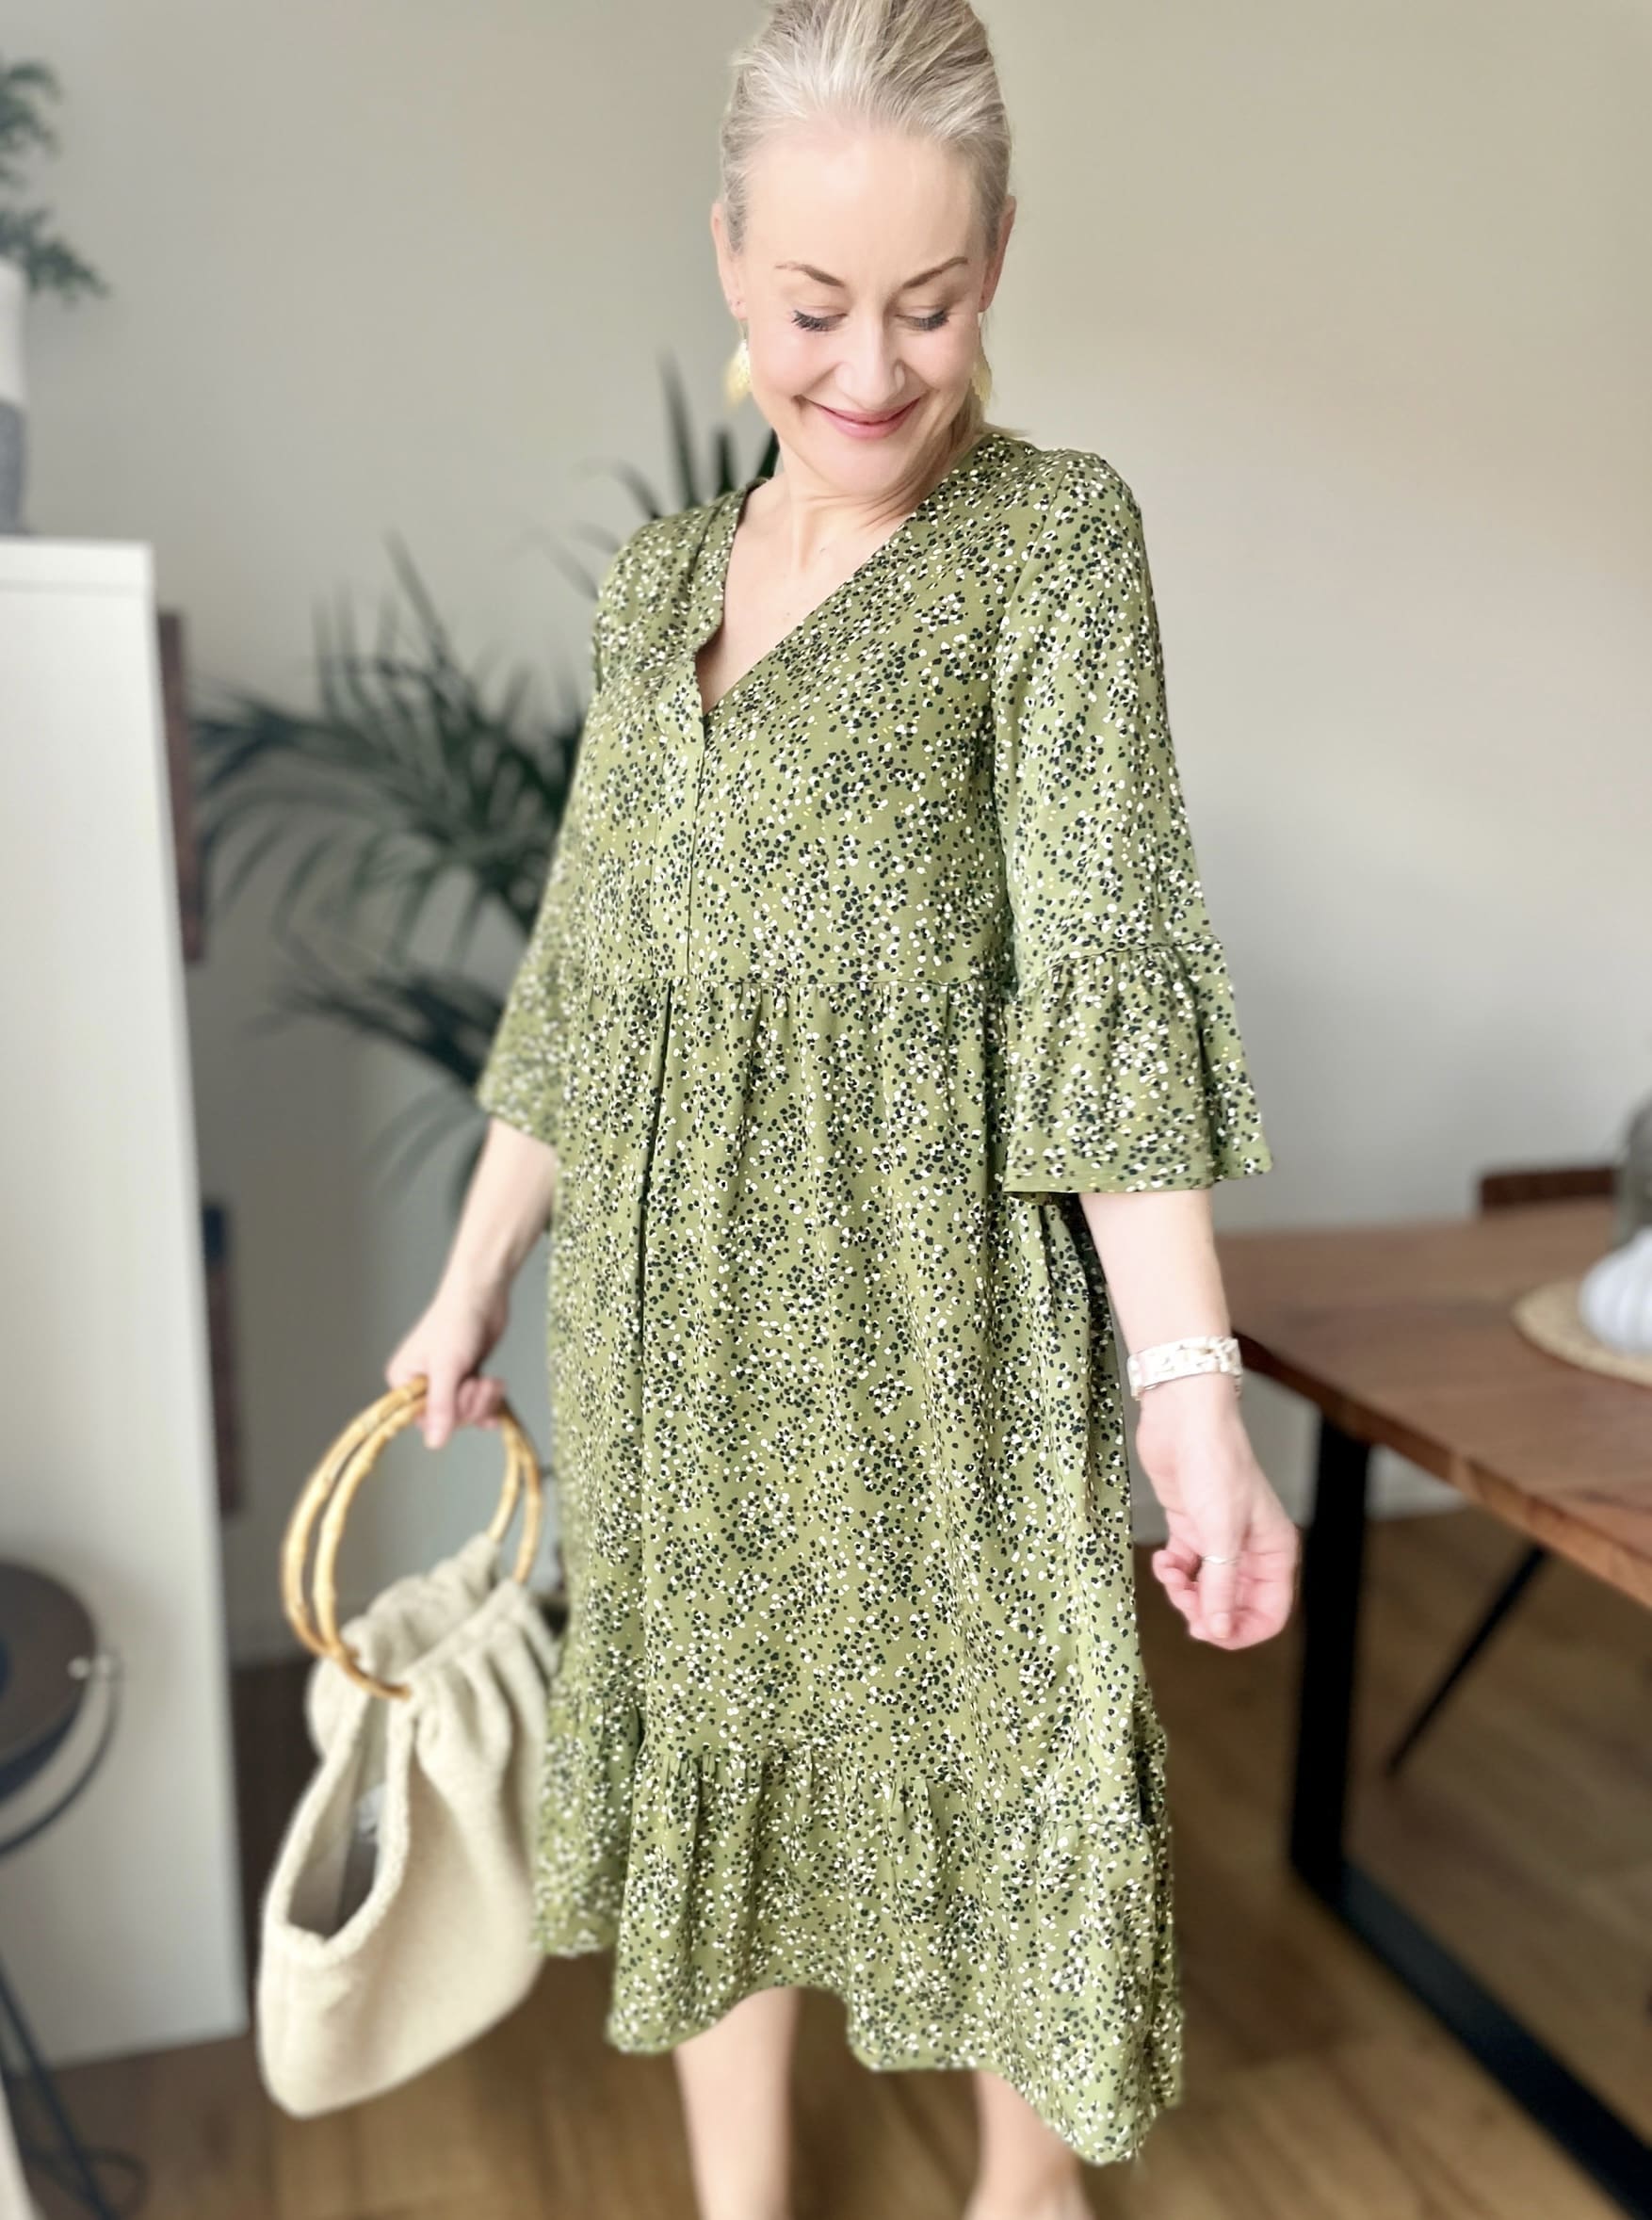
Positive negative Ease, using the finished garment measurements
Getting your sewing projects to fit just the way you want can be a breeze once you understand positive and negative ease. These are simple ways to adjust your garment’s fit using the finished measurements. Here’s how:
Positive Ease: Comfy and Relaxed
Positive ease means your garment is a bit bigger than your body, creating a comfy and loose fit. If you’re all about comfort:
Check the Finished Measurements: Look at your pattern’s chart for the garment’s measurements.
Pick a Bigger Size: Choose a pattern size where the garment’s measurements are larger than yours. This makes your clothes feel roomy.
Think About What You Like: Keep in mind that how lose you want it depends on your style.
Try It On: Make a test piece (muslin) to make sure it feels just right.
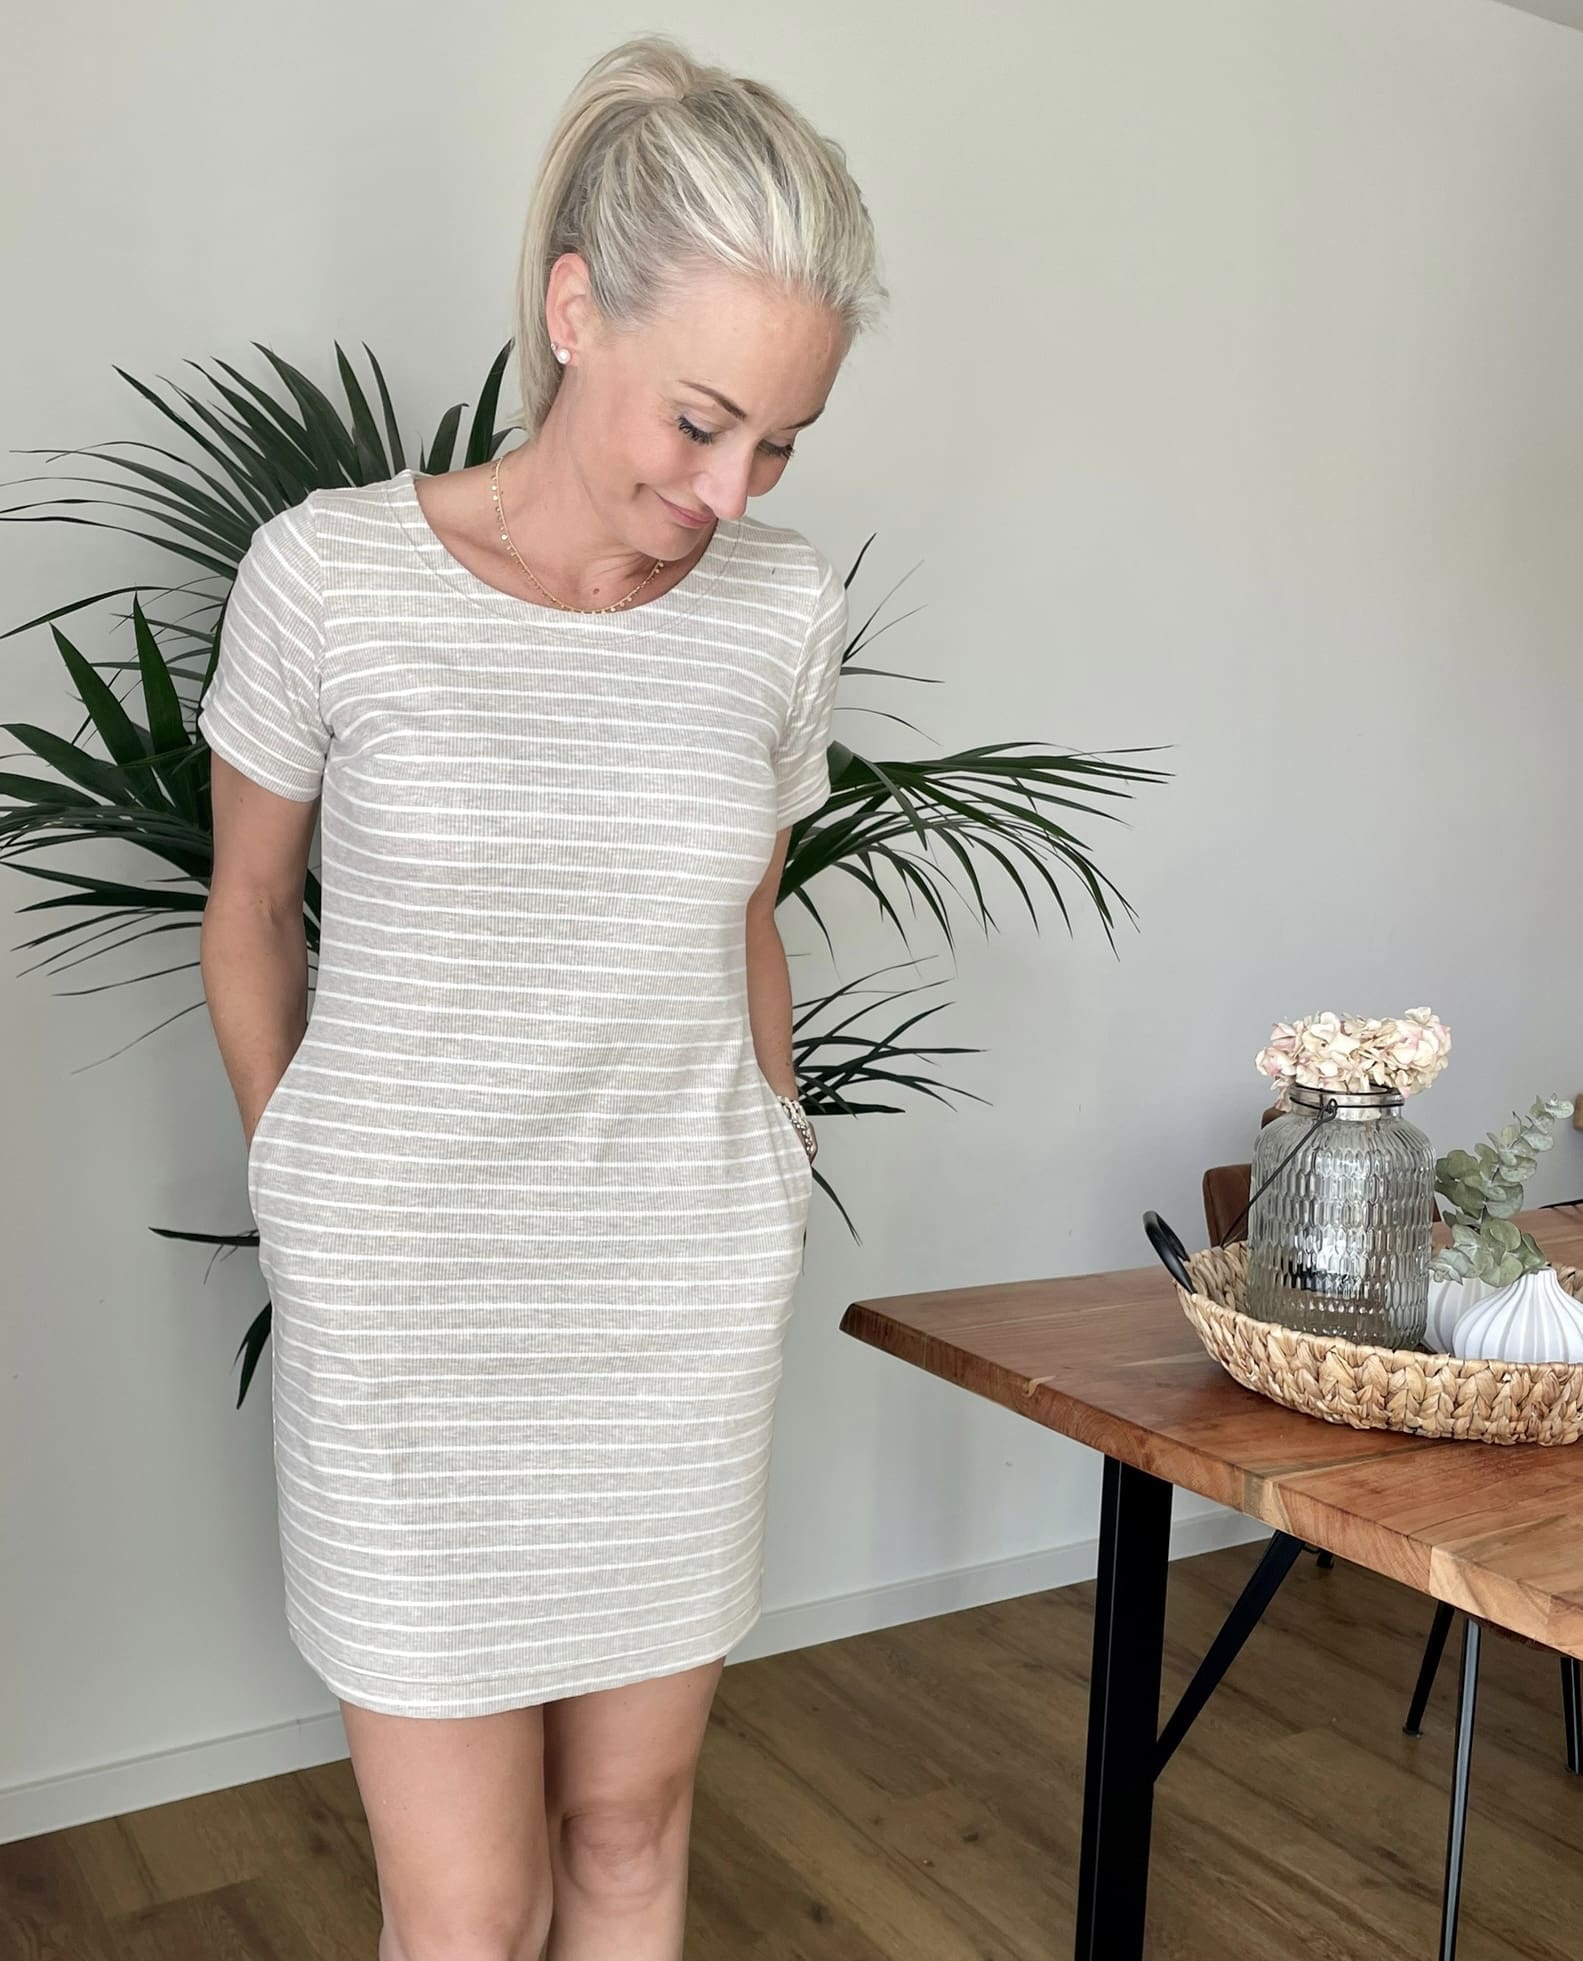
Negative Ease: Snug and Stretchy
Negative ease means your garment is a bit smaller than your body, giving a snug, stretchy fit. This is great for activewear or close-fitting styles:
Check the Finished Measurements: Look at your pattern’s chart, as usual.
Choose a Smaller Size: Pick a pattern size where the garment’s measurements are smaller than yours. This makes your clothes hug your body.
Adjust to Fit: The snugness can vary, so follow your pattern’s advice.
Test the Fit: Before you start sewing the final piece, try it with a muslin to make sure it fits just right.
Sewing is all about making things you own way. So, use finished garment measurements to get a fit that suits your style and comfort. You’ll be sewing like a pro in no time! Happy sewing!


